
This is how I captured a $292,000 Bentley

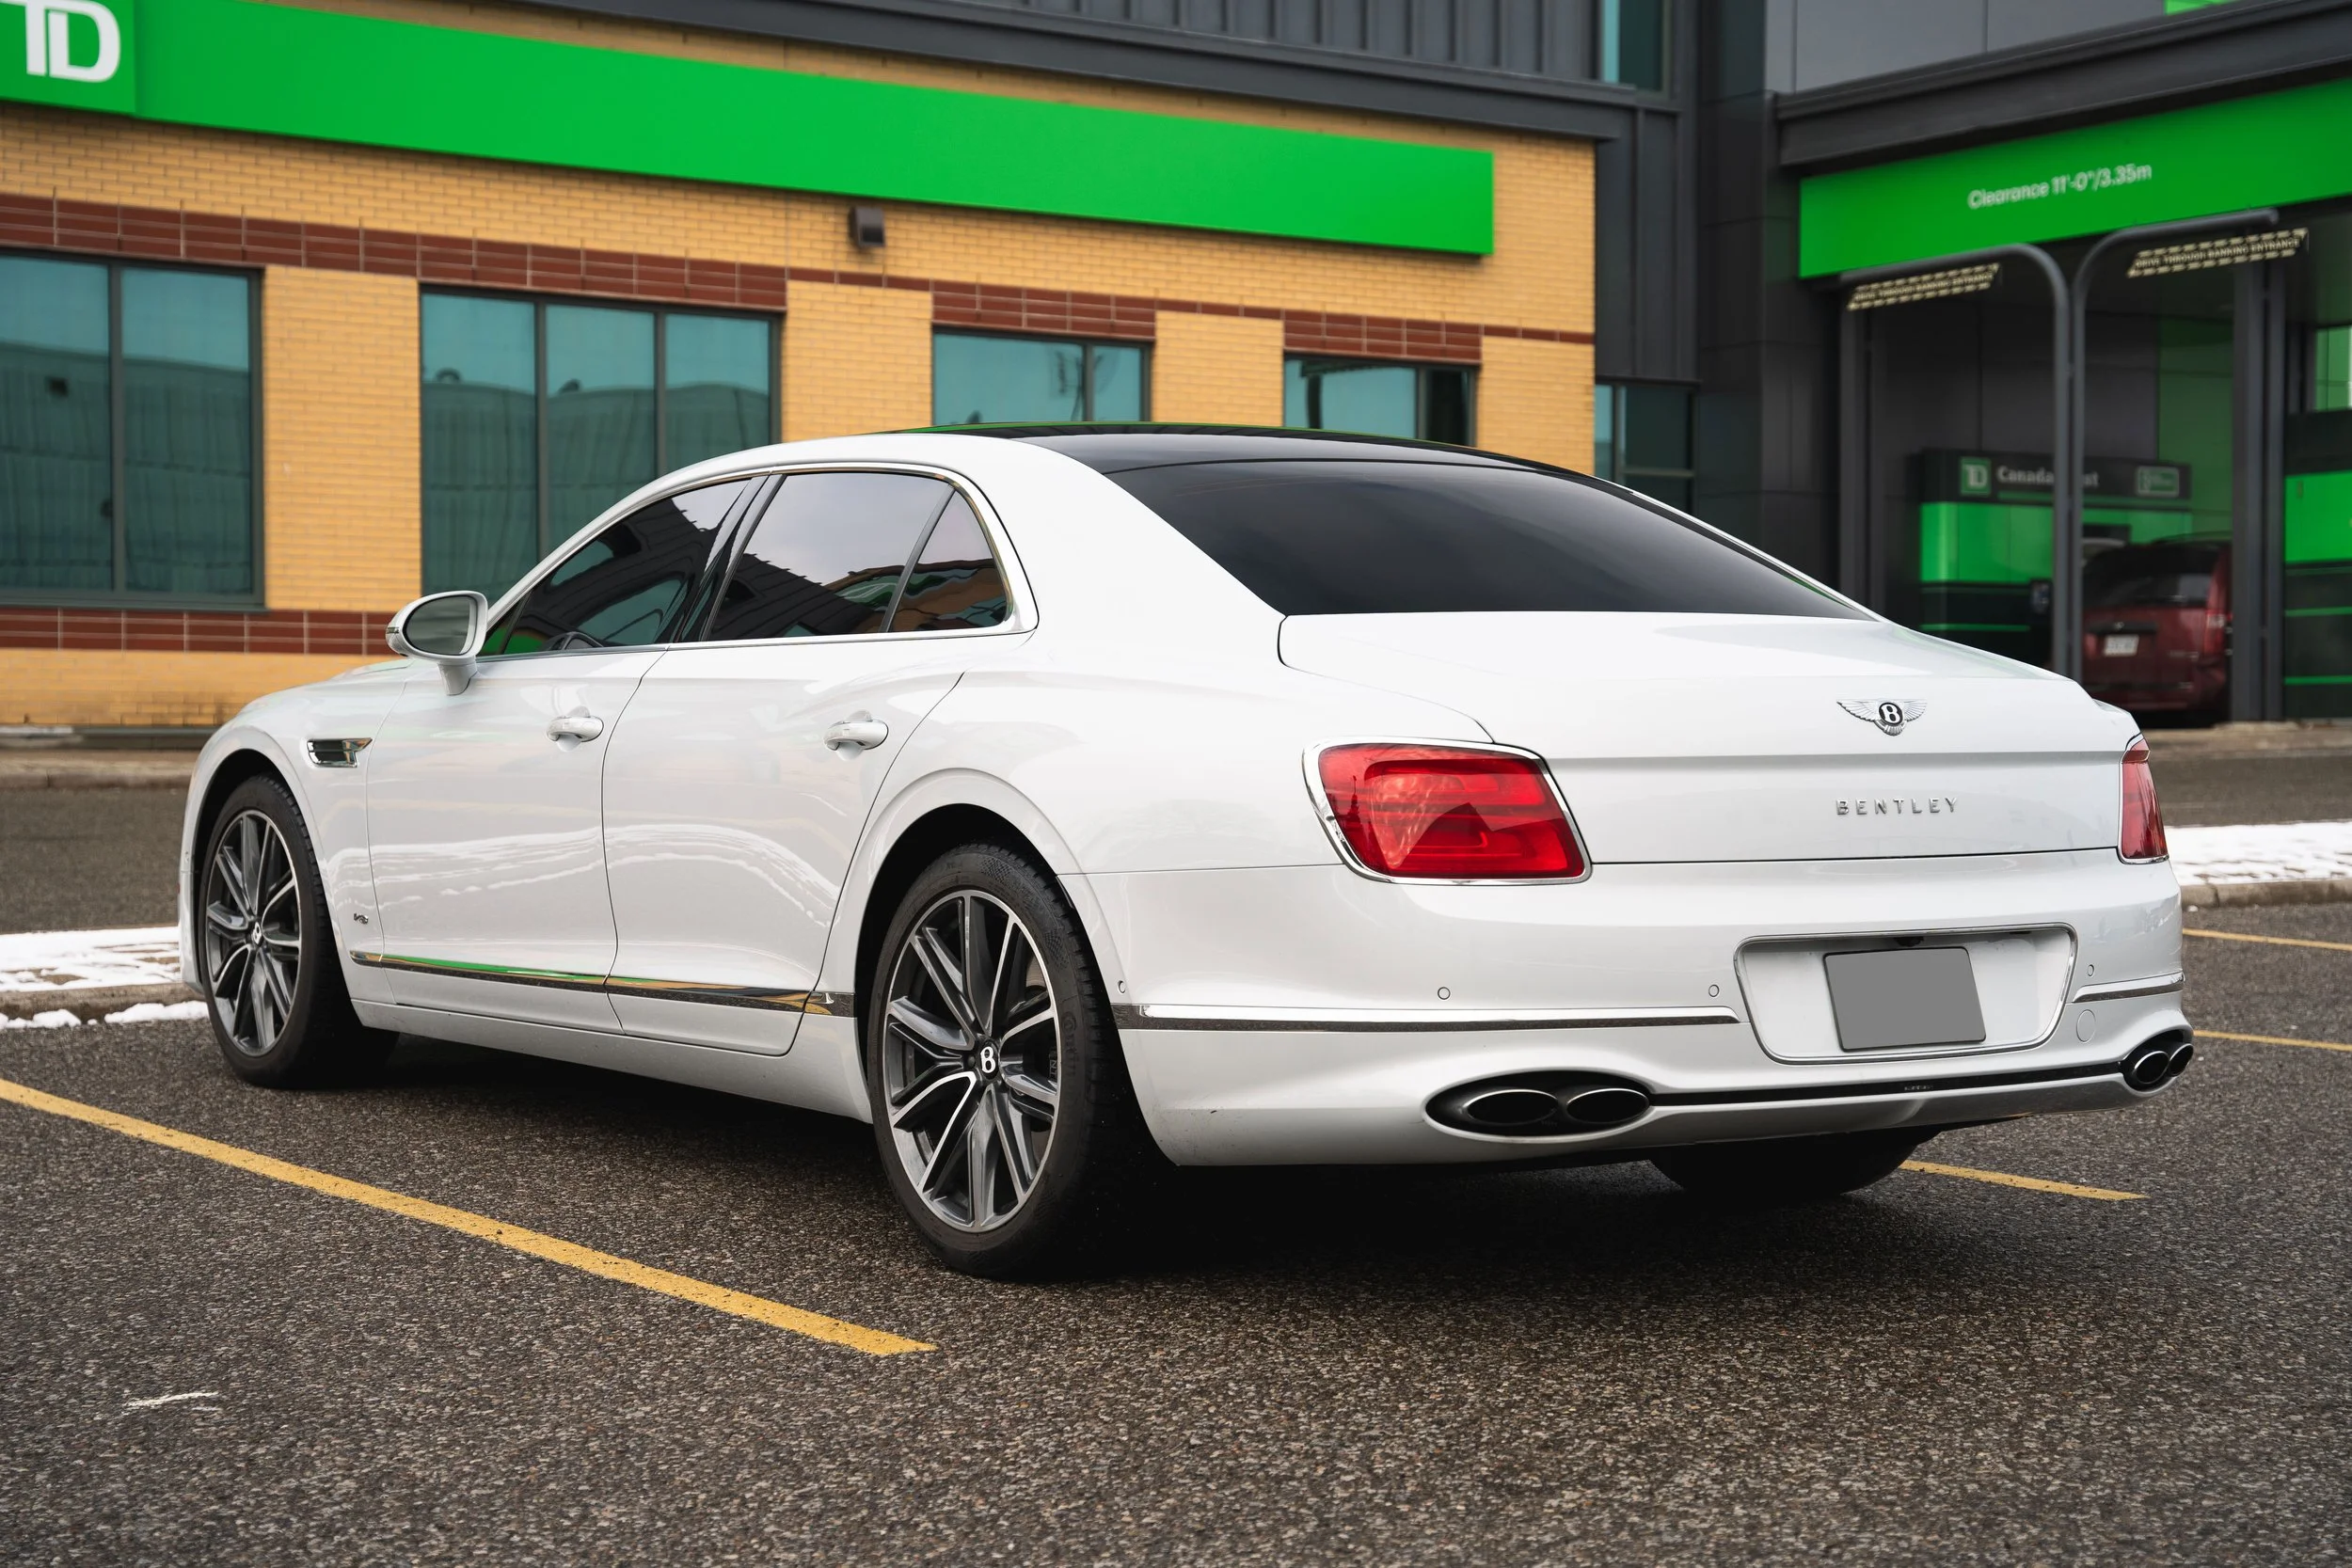
Sean was searching for professional photos of his car - and when I found out what car I would be shooting, there was no question why. When you have a $300,000 2021 Bentley Flying Spur, you’re going to want photos that do the car justice. As I do with any shoot, I wanted to get the best photos possible which would show off all the features, styling, and everything else that makes this a $300,000 vehicle.
In today’s post, I wanted to share with you how I organized myself to create the perfect photoshoot, which was both comfortable for myself and the client and left us both extremely happy with the results. Here’s a quick breakdown of what will be discussed:
Research the vehicle your shooting
Pick a good location
Consider the weather
Have the car detailed (before the shoot)
Speak with the owner about the car
Refer to your shot list
Start with the exterior, finish with the interior photos
Review the photos with your client before you leave
Deliver the photos in a timely manner

Research
Now why would researching the vehicle be necessary for a photoshoot? Well, when you only have 45-60 minutes to shoot the car and get all the features you can before you pack up, knowing where to look will certainly make your job easier and faster. There’s no worse feeling than sitting in front of all of your photos only to realize you missed a key feature and your client is pointing it out!

Location
When looking for a good location, my criteria is typically:
Somewhere not high traffic
Not many distractions in the background (people, other cars, or objects like poles)
Plenty of space around where the car will be placed
The location doesn’t have to be anywhere super fancy. You don’t want to have many distractions in the background as that will take away from the focus on the car. For this photoshoot, I had to choose a location close to where the car was being detailed, and also clear from snow and slush as we had just had a bunch of snow come accumulate.
Consider the weather
The best weather to photograph a car is when it’s cloudy. When it’s cloudy, the sun is diffused, and you won’t have to adjust the position of the car to combat the harsh shadows it will create. The clouds will disperse an even amount of light around the vehicle making it very easy to capture all corners of the vehicle. If your only option is to shoot when the sun is bright and there are no clouds, you must consider your exposure so that you can bring up the shadows later in editing. Another option would be using bracket photos, where you combine a 3 or more photos (one under exposed, one exposed, and one over exposed) to create an HDR (high dynamic range) image.

Clean car = Better photos
If a car is not detailed before the shoot, there’s almost no point in doing the shoot. There’s no amount of editing that can be done to make a dirty car look good with things like stains, pet hair, or debris being visible in the photos. The worst is seeing a lazy attempt at cleaning the exterior panels of a car with a dirty microfiber, leaving a clear trail of where the attempt was made. To some this is common sense, but you’d be surprised!
Speak with the owner about the car
When you speak with the owner, your main focus is to understand what the client wants to see in the final photoset. It’s also a good time to learn about any additions the owner made to the car that they feel will help sell it. As a photographer your goal is to satisfy the client’s needs, while delivering photos that represent the skill they paid you for.
Shot list
Having a shot list is essential when doing private sale photography. This will help keep you organized to ensure you have taken photos of the most common features and angles of cars. It’s also just common practice in any film production shoot, as they have a script to follow and a vision of how the final outcome should look on paper.
Looking for a shot list? Stay tuned for one of my upcoming blogs where I will include a downloadable shot list to use for your next shoot!
Start with the exterior, finish with the interior
A rule of thumb I’ve always gone by is starting with the exterior, finishing with the interior. The main reason is that the weather and activity in the area can change quickly. You can get kicked out of the spot, or worse - unpredicted weather. The interior is guaranteed to stay clean so long as whoever repositioning it keep it clean. So, while the exterior is clean, there’s no sudden rain, get the exterior and worry about the interior later, as this can be captured literally anywhere.

Review the photos with the client
Having the client take a quick peak over the captured images helps provide some assurance that you’ve captured the vehicle’s features. It also provides an opportunity for the client to provide any necessary feedback and/or shots that the client wishes to have as part of their photoset.
This interaction essentially acts as a sign-off as - “These are the photos I captured. They will be professionally edited and sent over to you and look better than what is pictured (lighting, colour). Is there anything else you would like me to get or change?”
Delivering the photos
Before I leave a shoot, I like to also assure the client about when they can expect to receive the photos. Some people’s expectations could be to receive the photos the same day, others could be more relaxed. I typically will deliver mine within 2-3 days - assuring the client that this is to ensure the photos are not rushed and that time is spent on delivering their final product - which is true! For all of my shoots I deliver them using Google Drive - which is great for me when I would like to also access the photoset virtually.
Here’s a sample look at my photoset for Sean:


