Behind The Lens: Capturing Stunning Car Photos of a Mercedes for Turo
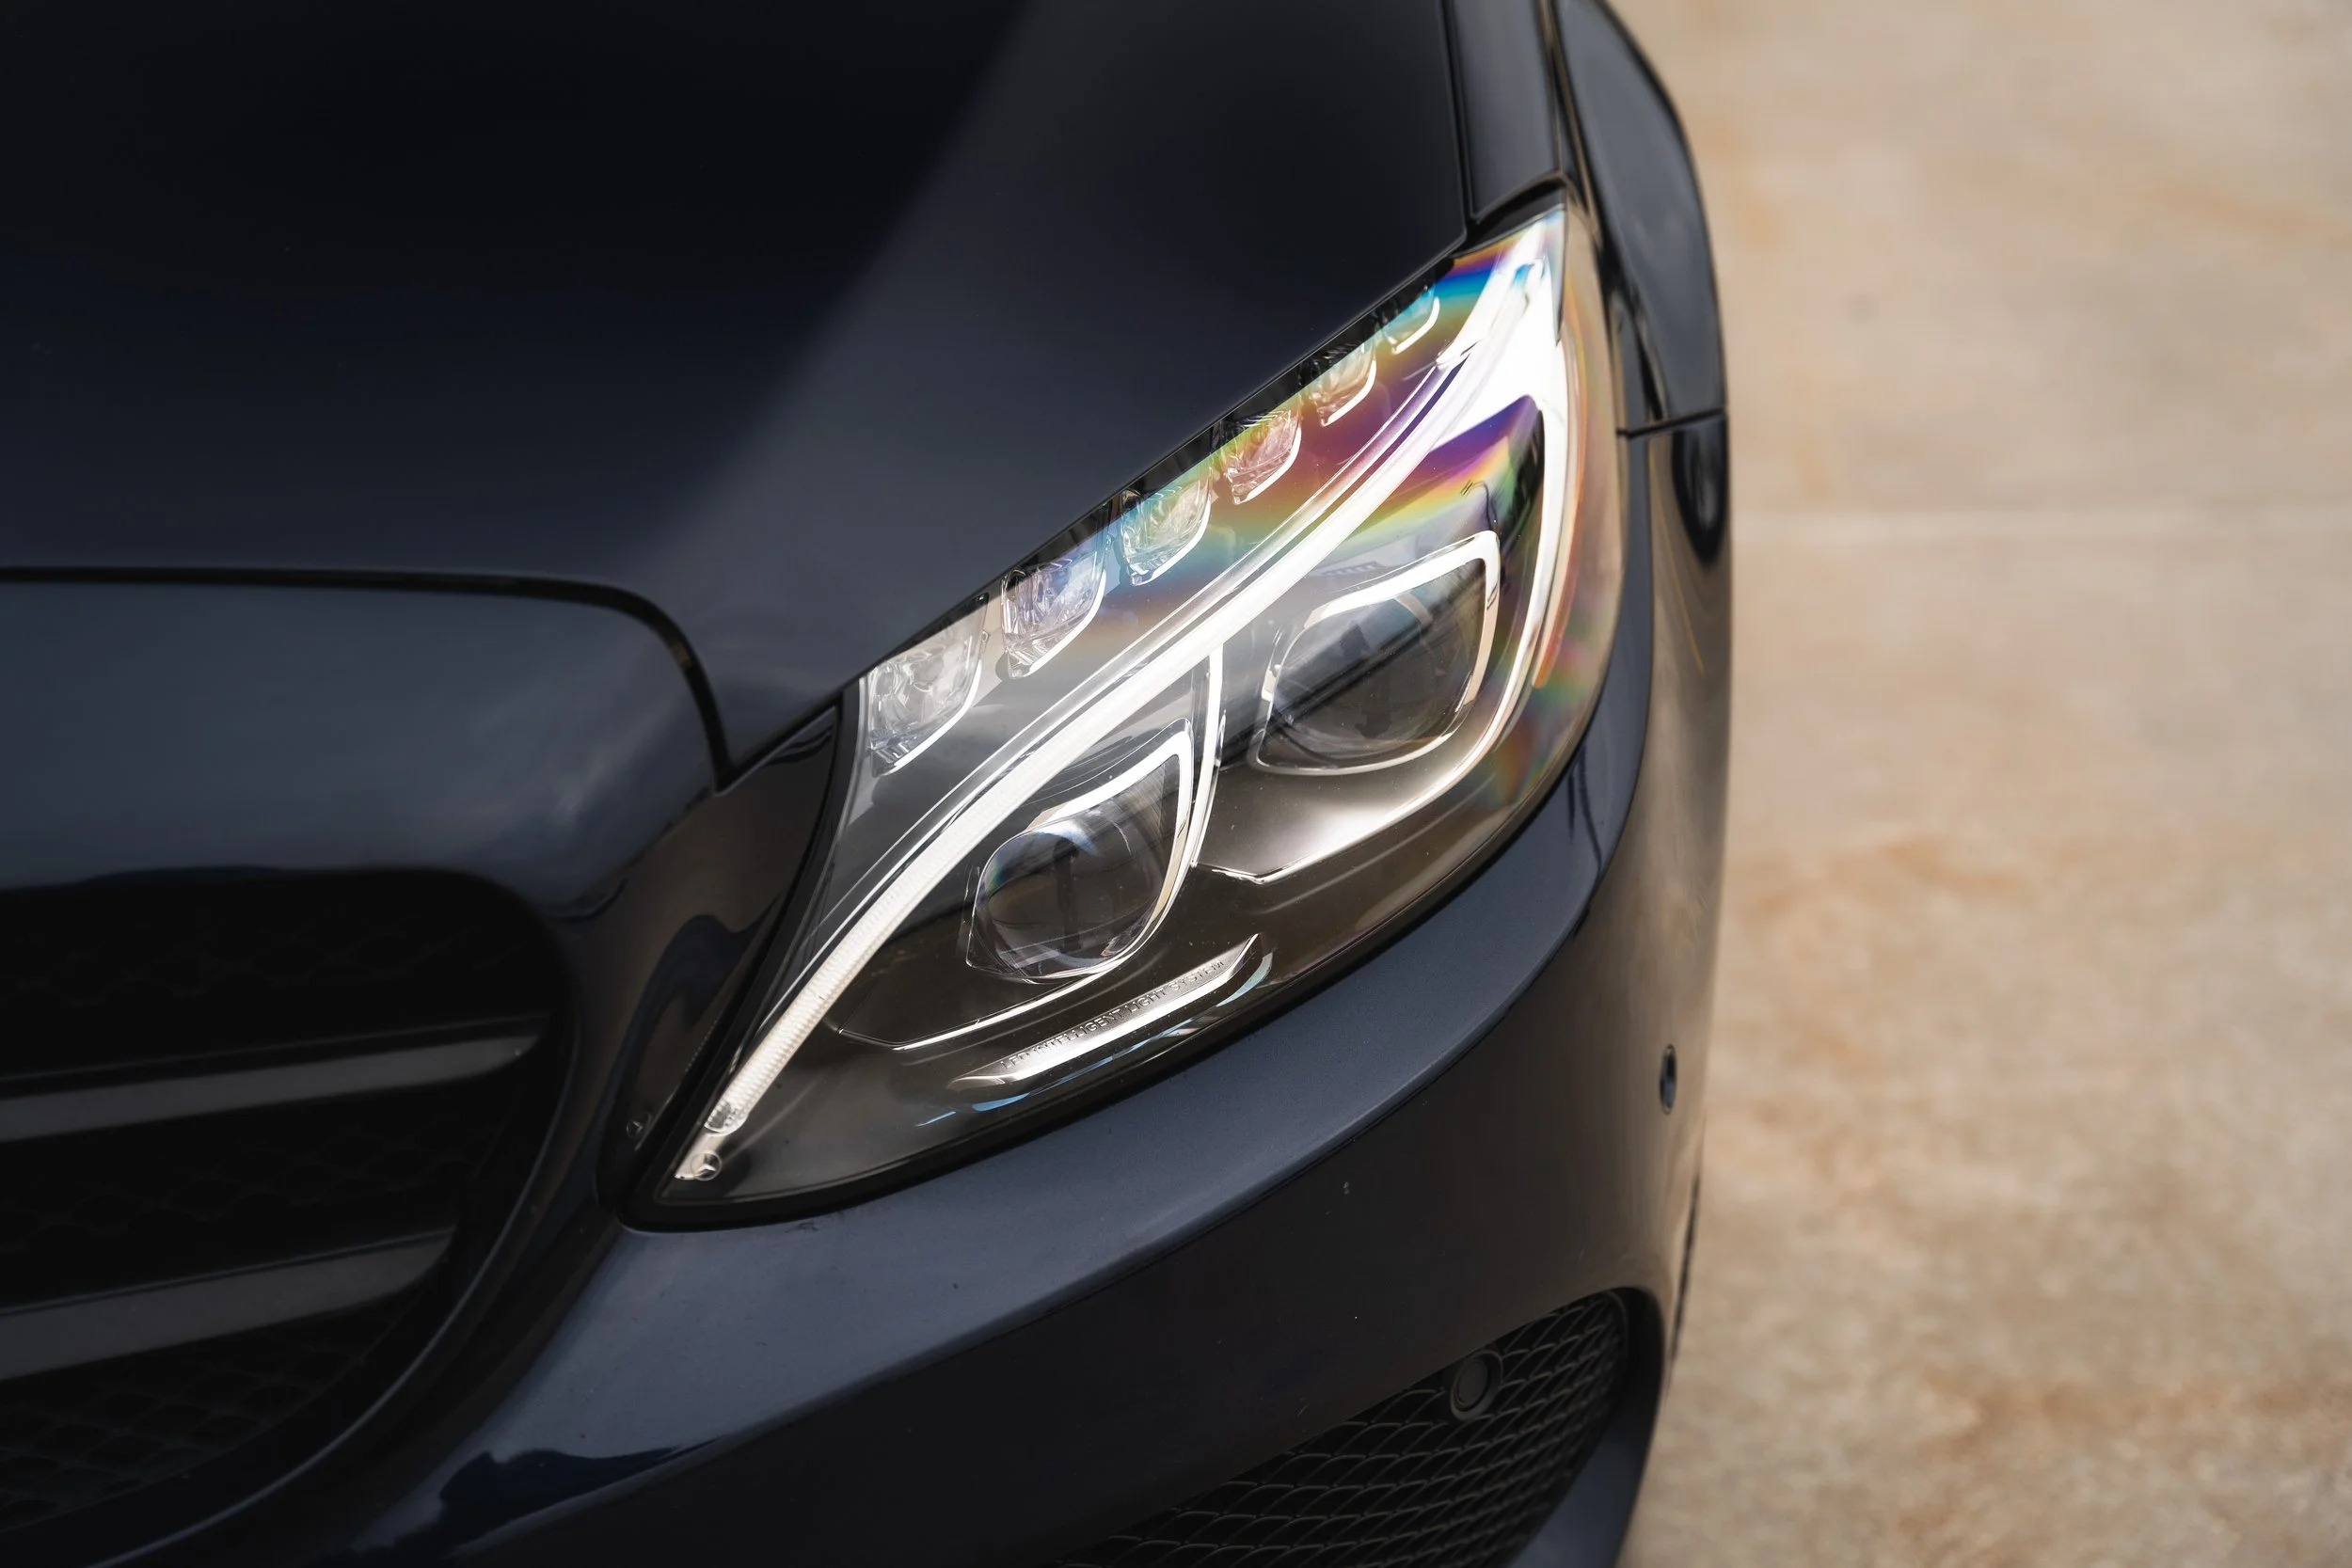
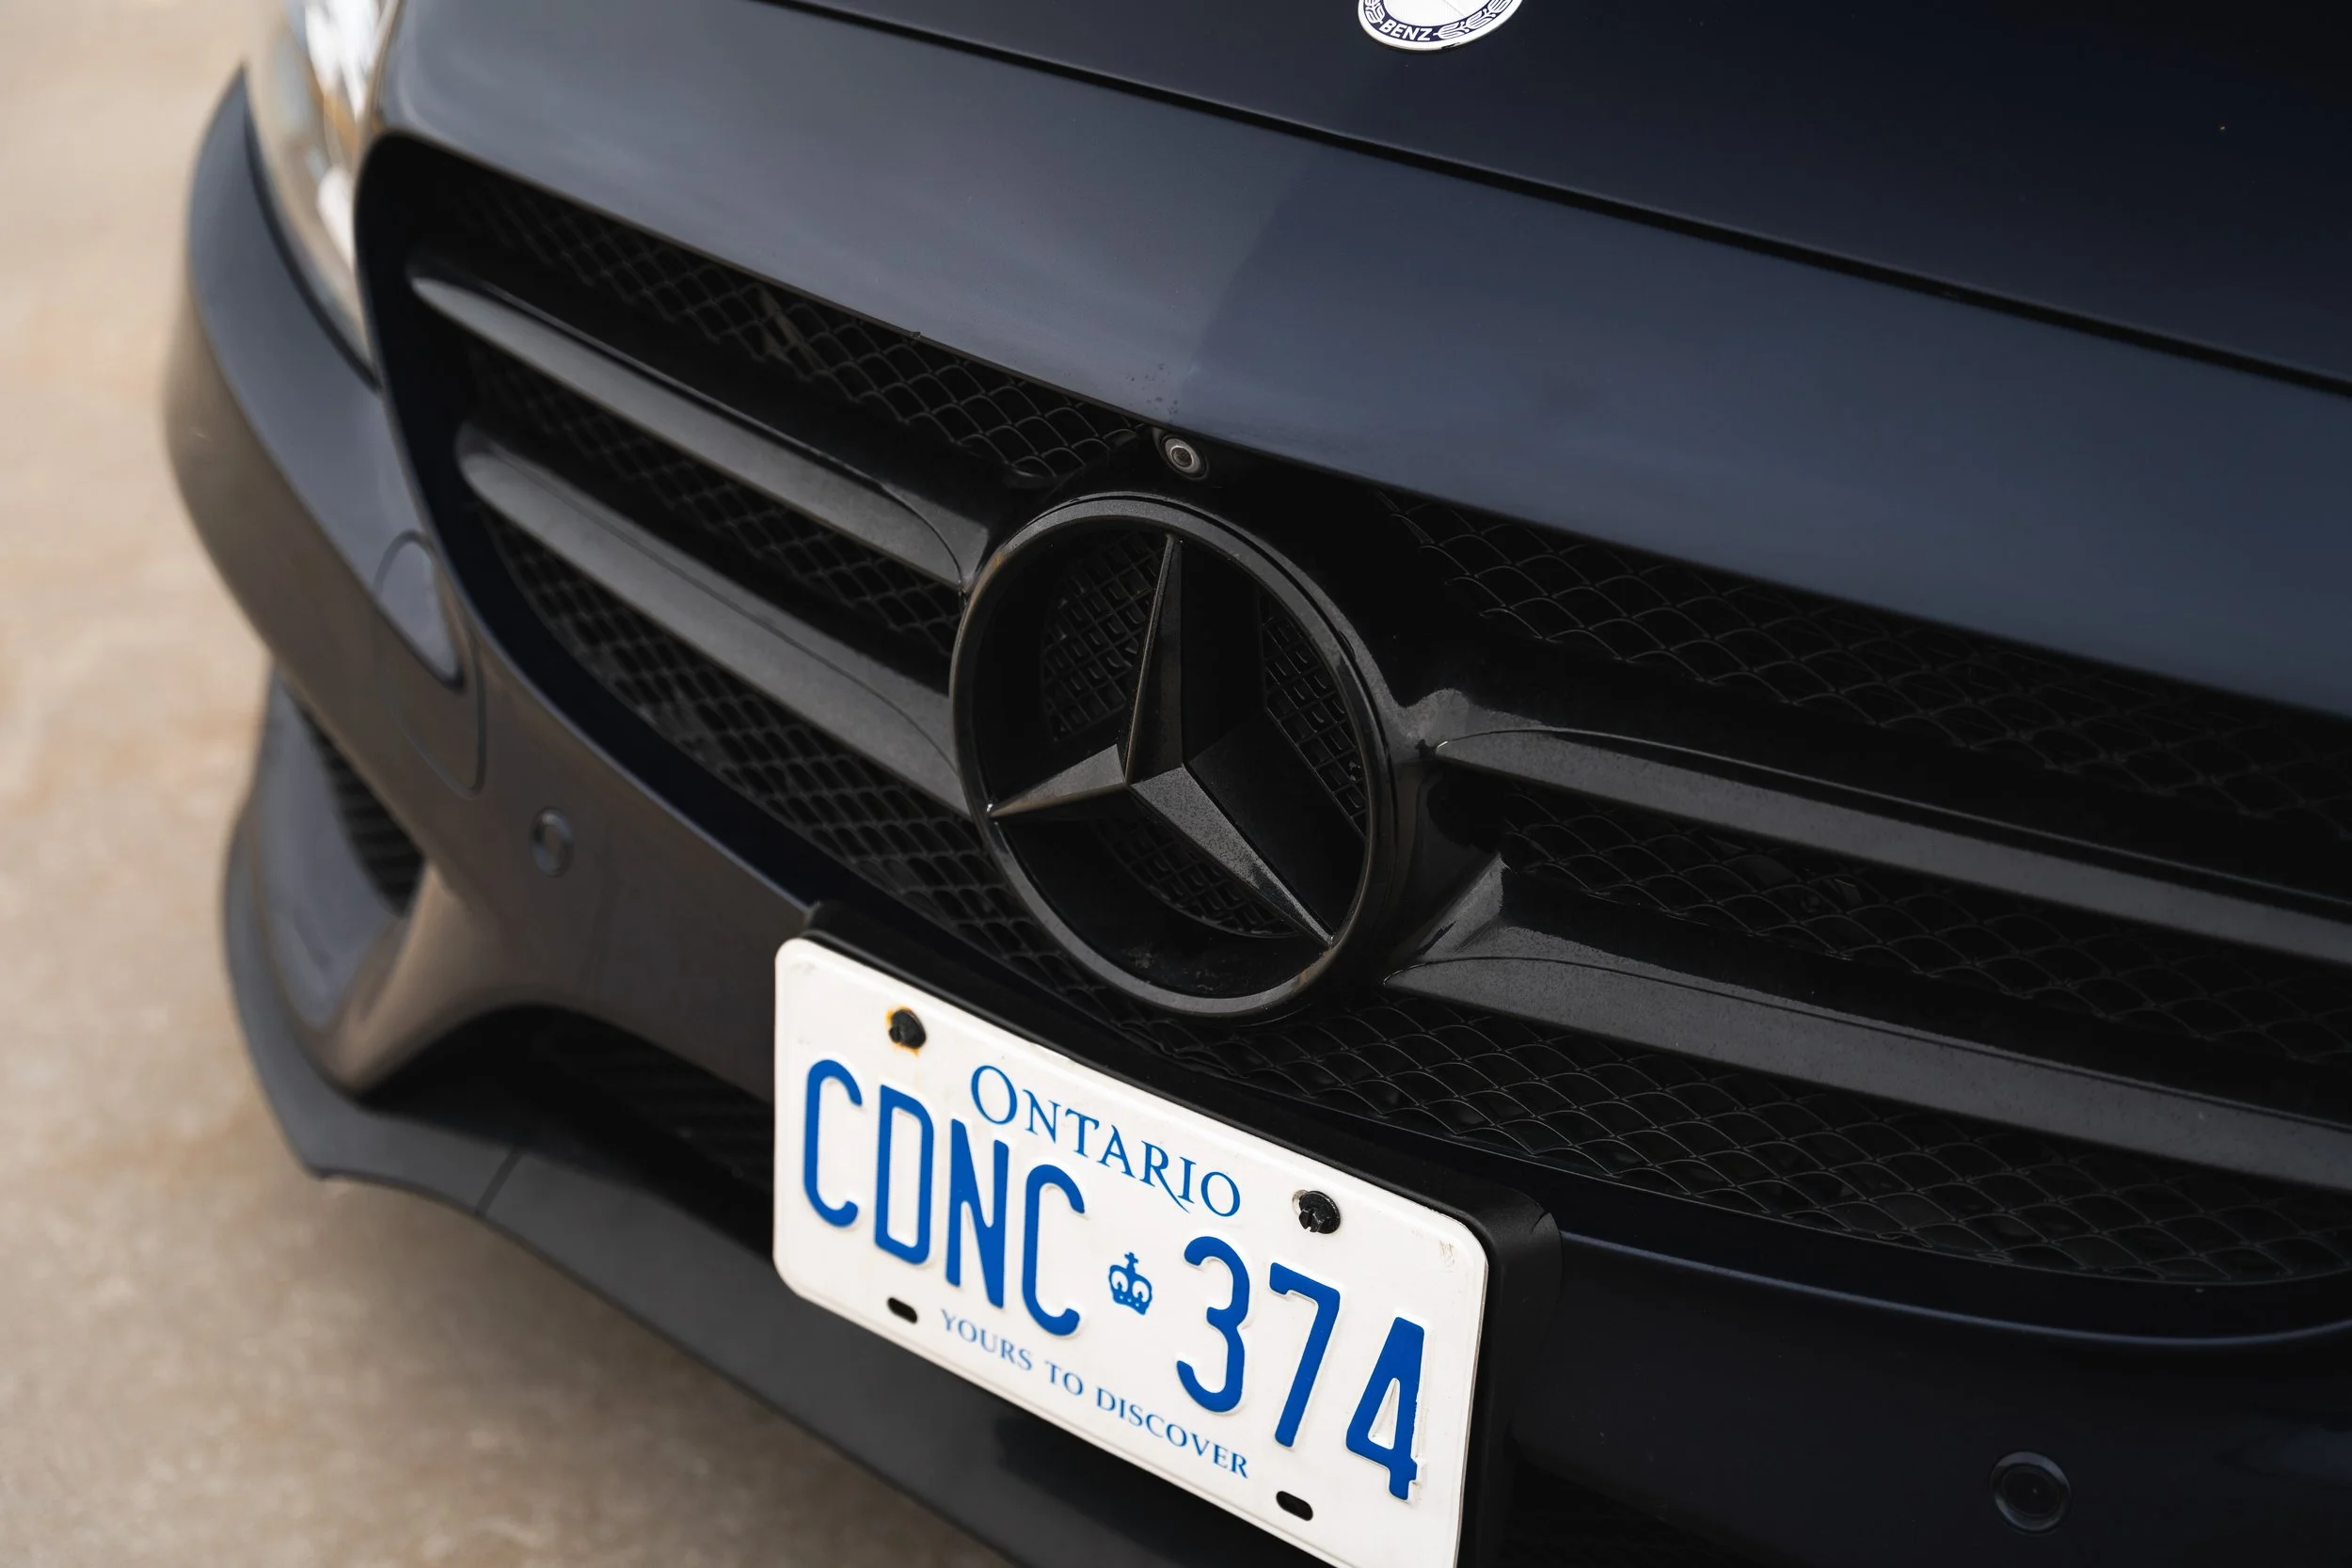
When John messaged me on Instagram he was looking for some professional photos of his navy blue Mercedes so that he could stand out on Turo. It made complete sense, his Mercedes is not just like any other. John’s Mercedes had plenty of features, was well kept, and just looked that luxurious part that his vehicle was. John wanted a complete photoset that would not miss any details of the car - from the mats to the brakes, no detail was left uncaptured.
Here are some of the photos from this photoshoot and how we nailed this photoshoot within 43 minutes (yes I tracked it). Also check out John’s listing here on Turo.

Finding the right time
January isn’t the most forgiving of months in terms of weather and available sunlight. The only advantage I find is that it is usually cloudy, which makes automotive photography especially easier. When dealing with clouds, you don’t have to worry about harsh shadows casted by the sun. Luckily, when we were shooting there was plenty of cloud coverage and no precipitation in the forecast. Typically I find the best time to shoot around mid-day to early afternoon, which gives you plenty of time to work with similar lighting. There’s nothing worse than a shoot that goes a bit overtime and the lighting drastically decreases.
Finding the right location
The best locations for a Turo photoshoot would be somewhere that is open and does not have too many visual distractions in the background. You want the focus to be on the car, and not take away any attention from the car. Myself and John happened to be located near each other, so we chose a mutual parking lot location.
For some reason, even the most harmless of things like taking photos of a car can attract attention from security and you may be asked to leave. It’s always good to have another location in mind should this be the case.
My recommendations would be parking lots in big malls which typically have a section that is always under-utilized.

Prepping the car
John’s vehicle was perfectly, freshly detailed by Moe Car Detailing before our shoot. Every area of the car was clean, so prospective renters of John’s vehicle would know how well kept the car is, and how they should try to leave it as well. In any car dealership or car rental service, having a car detailed before photos or handover is standard practice. You want to showcase the car in the best way, so having it detailed before hand is a must!
Having a shot list
A shot list is your guide to ensuring you have taken photos of every feature and angle of the car. It is possible to have it memorized over time - especially if you’re doing something like inventory photography as a job, but if you’re new to car listing photos, a shot list is a handy guide for nailing the shoot.
It’s also better to overshoot the angles and take multiple shots of the same angle. I like to take 2-3, just in case the focus caught on the wrong area or one is a blurrier shot if shooting at low shutter speeds.
Turo’s preferred composition is landscape, as the photo will be stretched across the width of whichever device a prospective renter is using. Turo has an article for reference on how to capture and edit the photos, but if you’re looking for professional automotive photography for your Turo listing - consider contacting me to save the hassle!
Reviewing the photos
Before leaving the shoot I will always review the photos in the viewfinder of my Sony A7III so that I can see that all shots are in focus and that there will be no surprises when editing the photos. This is also a good time to show the client a sneak peek of all the photos you had taken. If they feel like you had missed something, this would be the opportunity to quickly get the shot.


Delivering the photos
Once I was done editing all of the photos, my preferred method to share them is currently through a Google Drive link. It’s not the prettiest, but most clients I’ve found have Google Drive already downloaded on their phones or can easily access the folder on their computer.